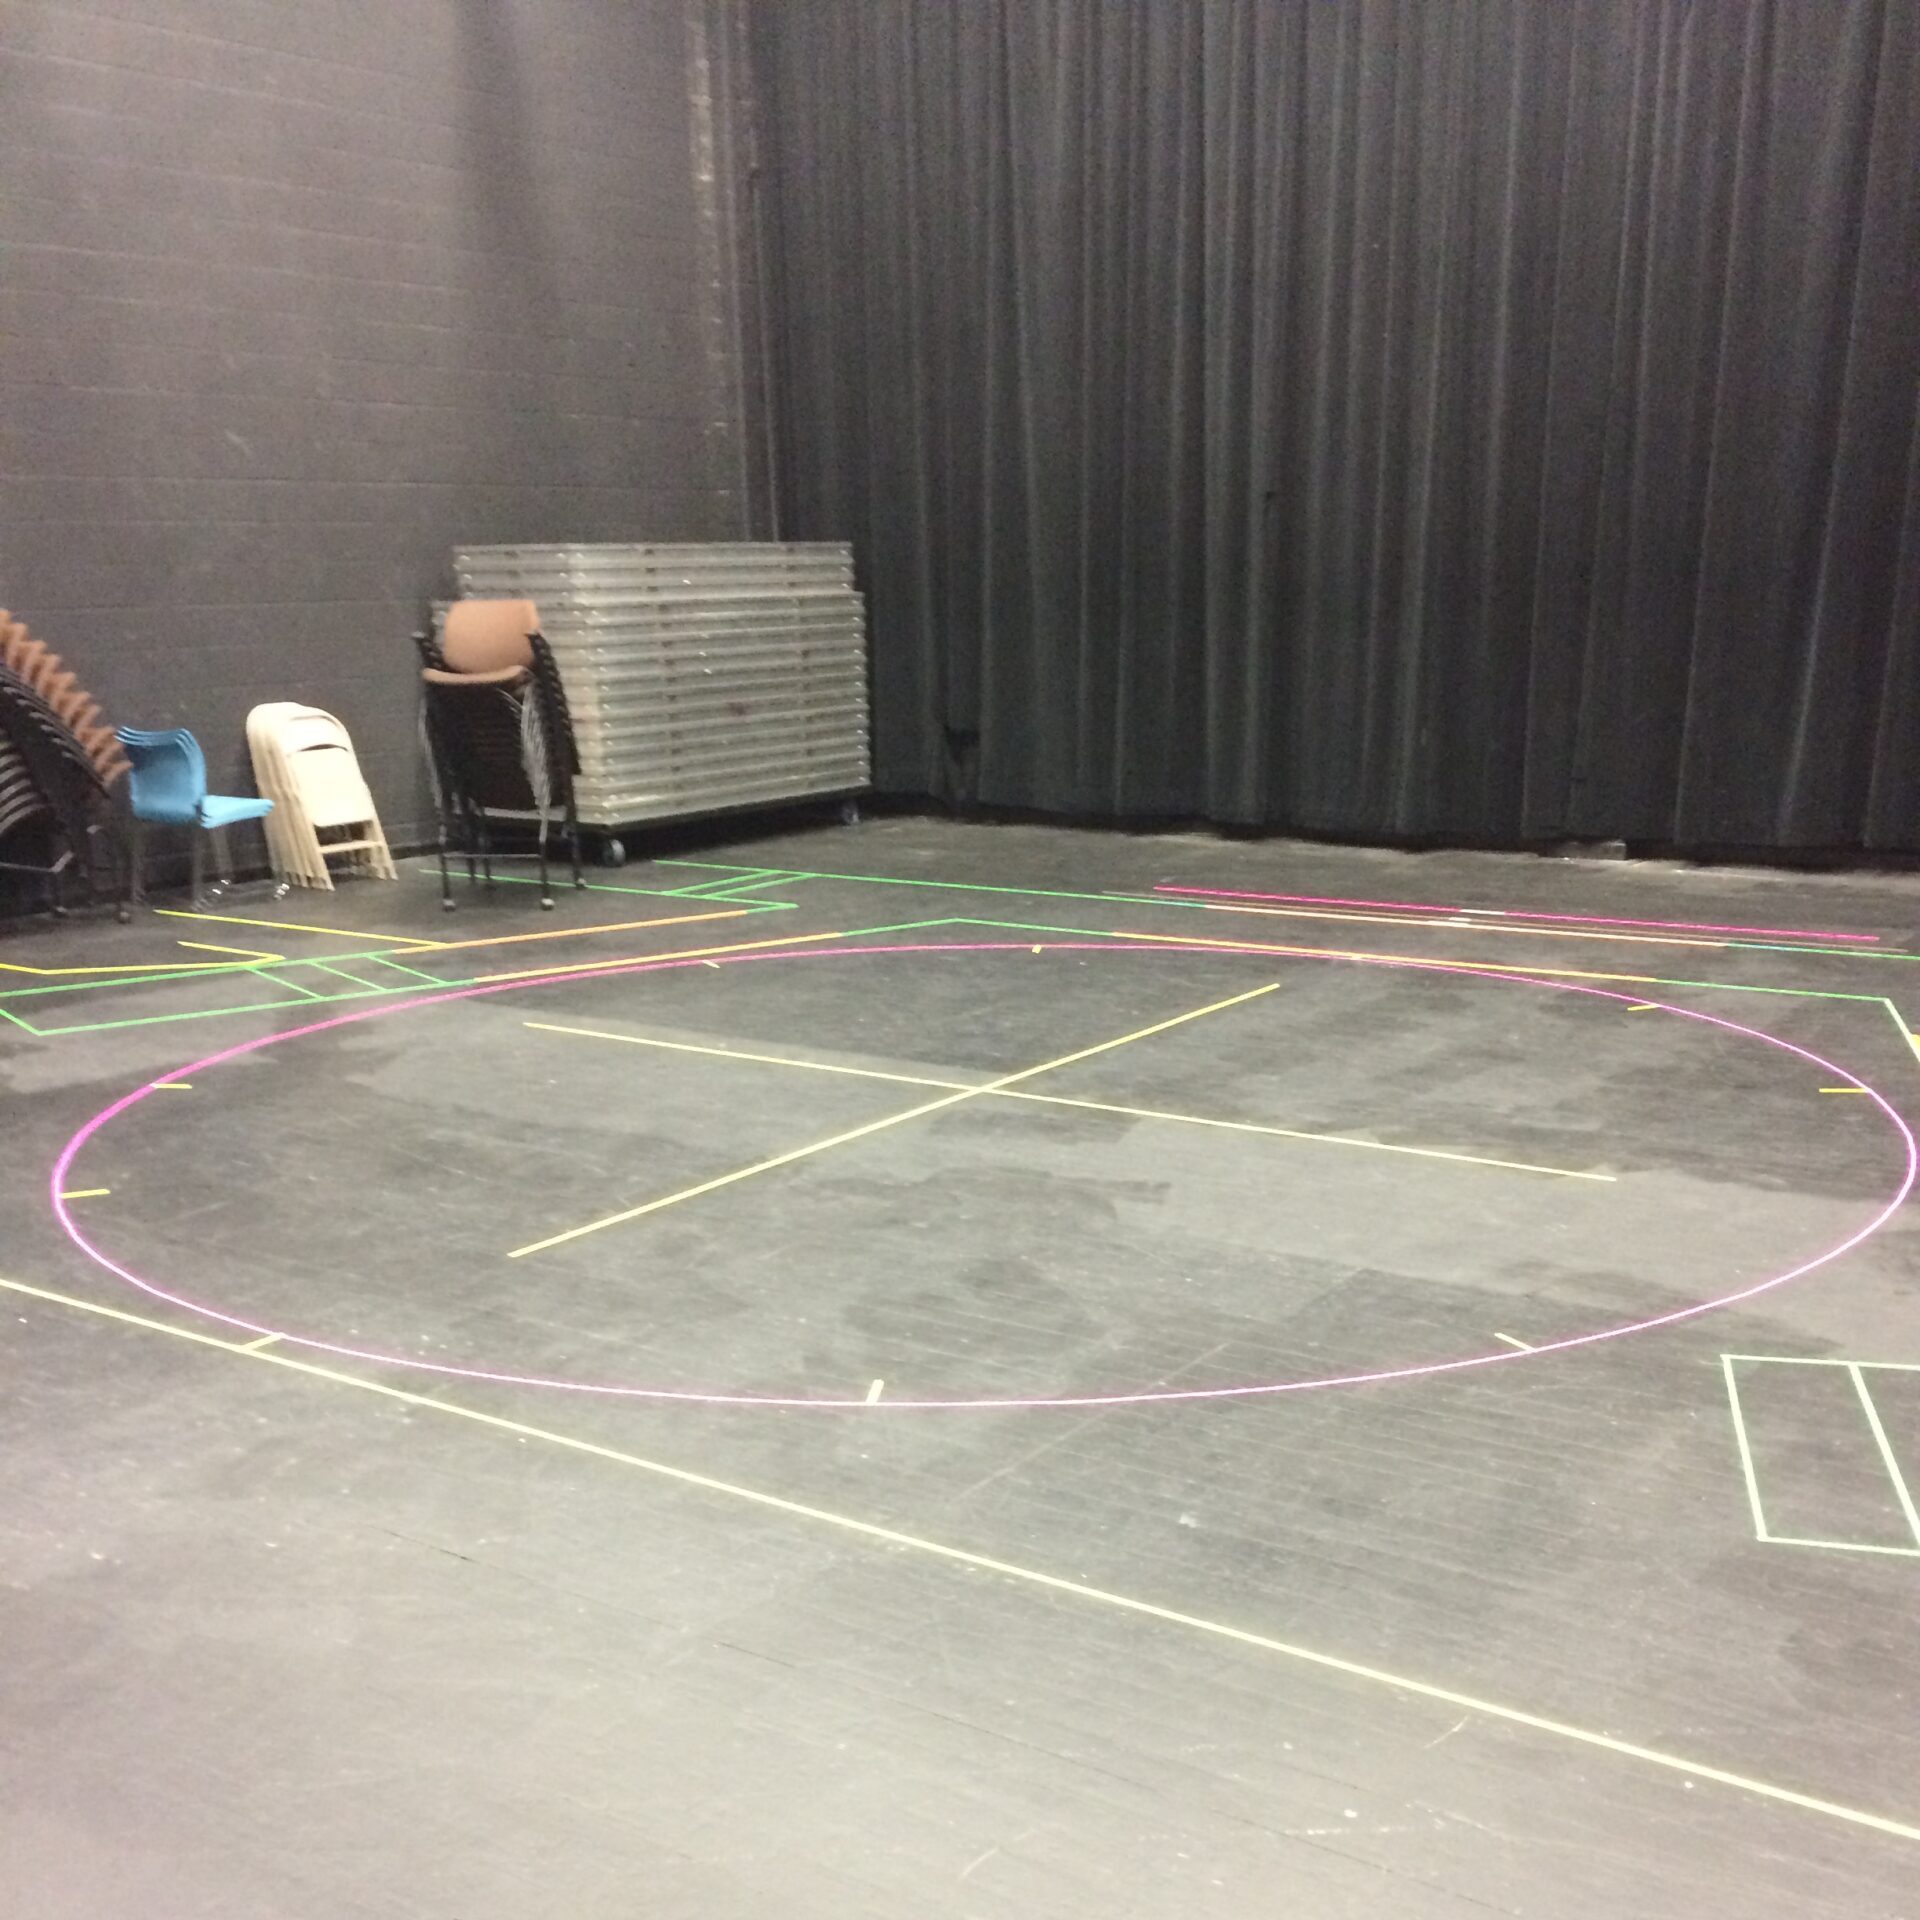
Until a couple years ago, if I saw a circle on a groundplan, let’s face it…I would cringe. Trying to make straight fabric-based spike tape turn into a beautiful curved line was pretty hard. In college, we used to have to do it with a paper-based spike tape, which thankfully I’ve never seen again in the professional world. Electrical tape can be a little easier to form curves, but it stretches and can get awkward as well.
Enter Ruth E. Kramer to the rescue. In January of 2017, she posted her method of taping a circle to the Facebook group for Equity Stage Managers*, and life has changed. With her permission, I share it with you now and also supply some visual aids:
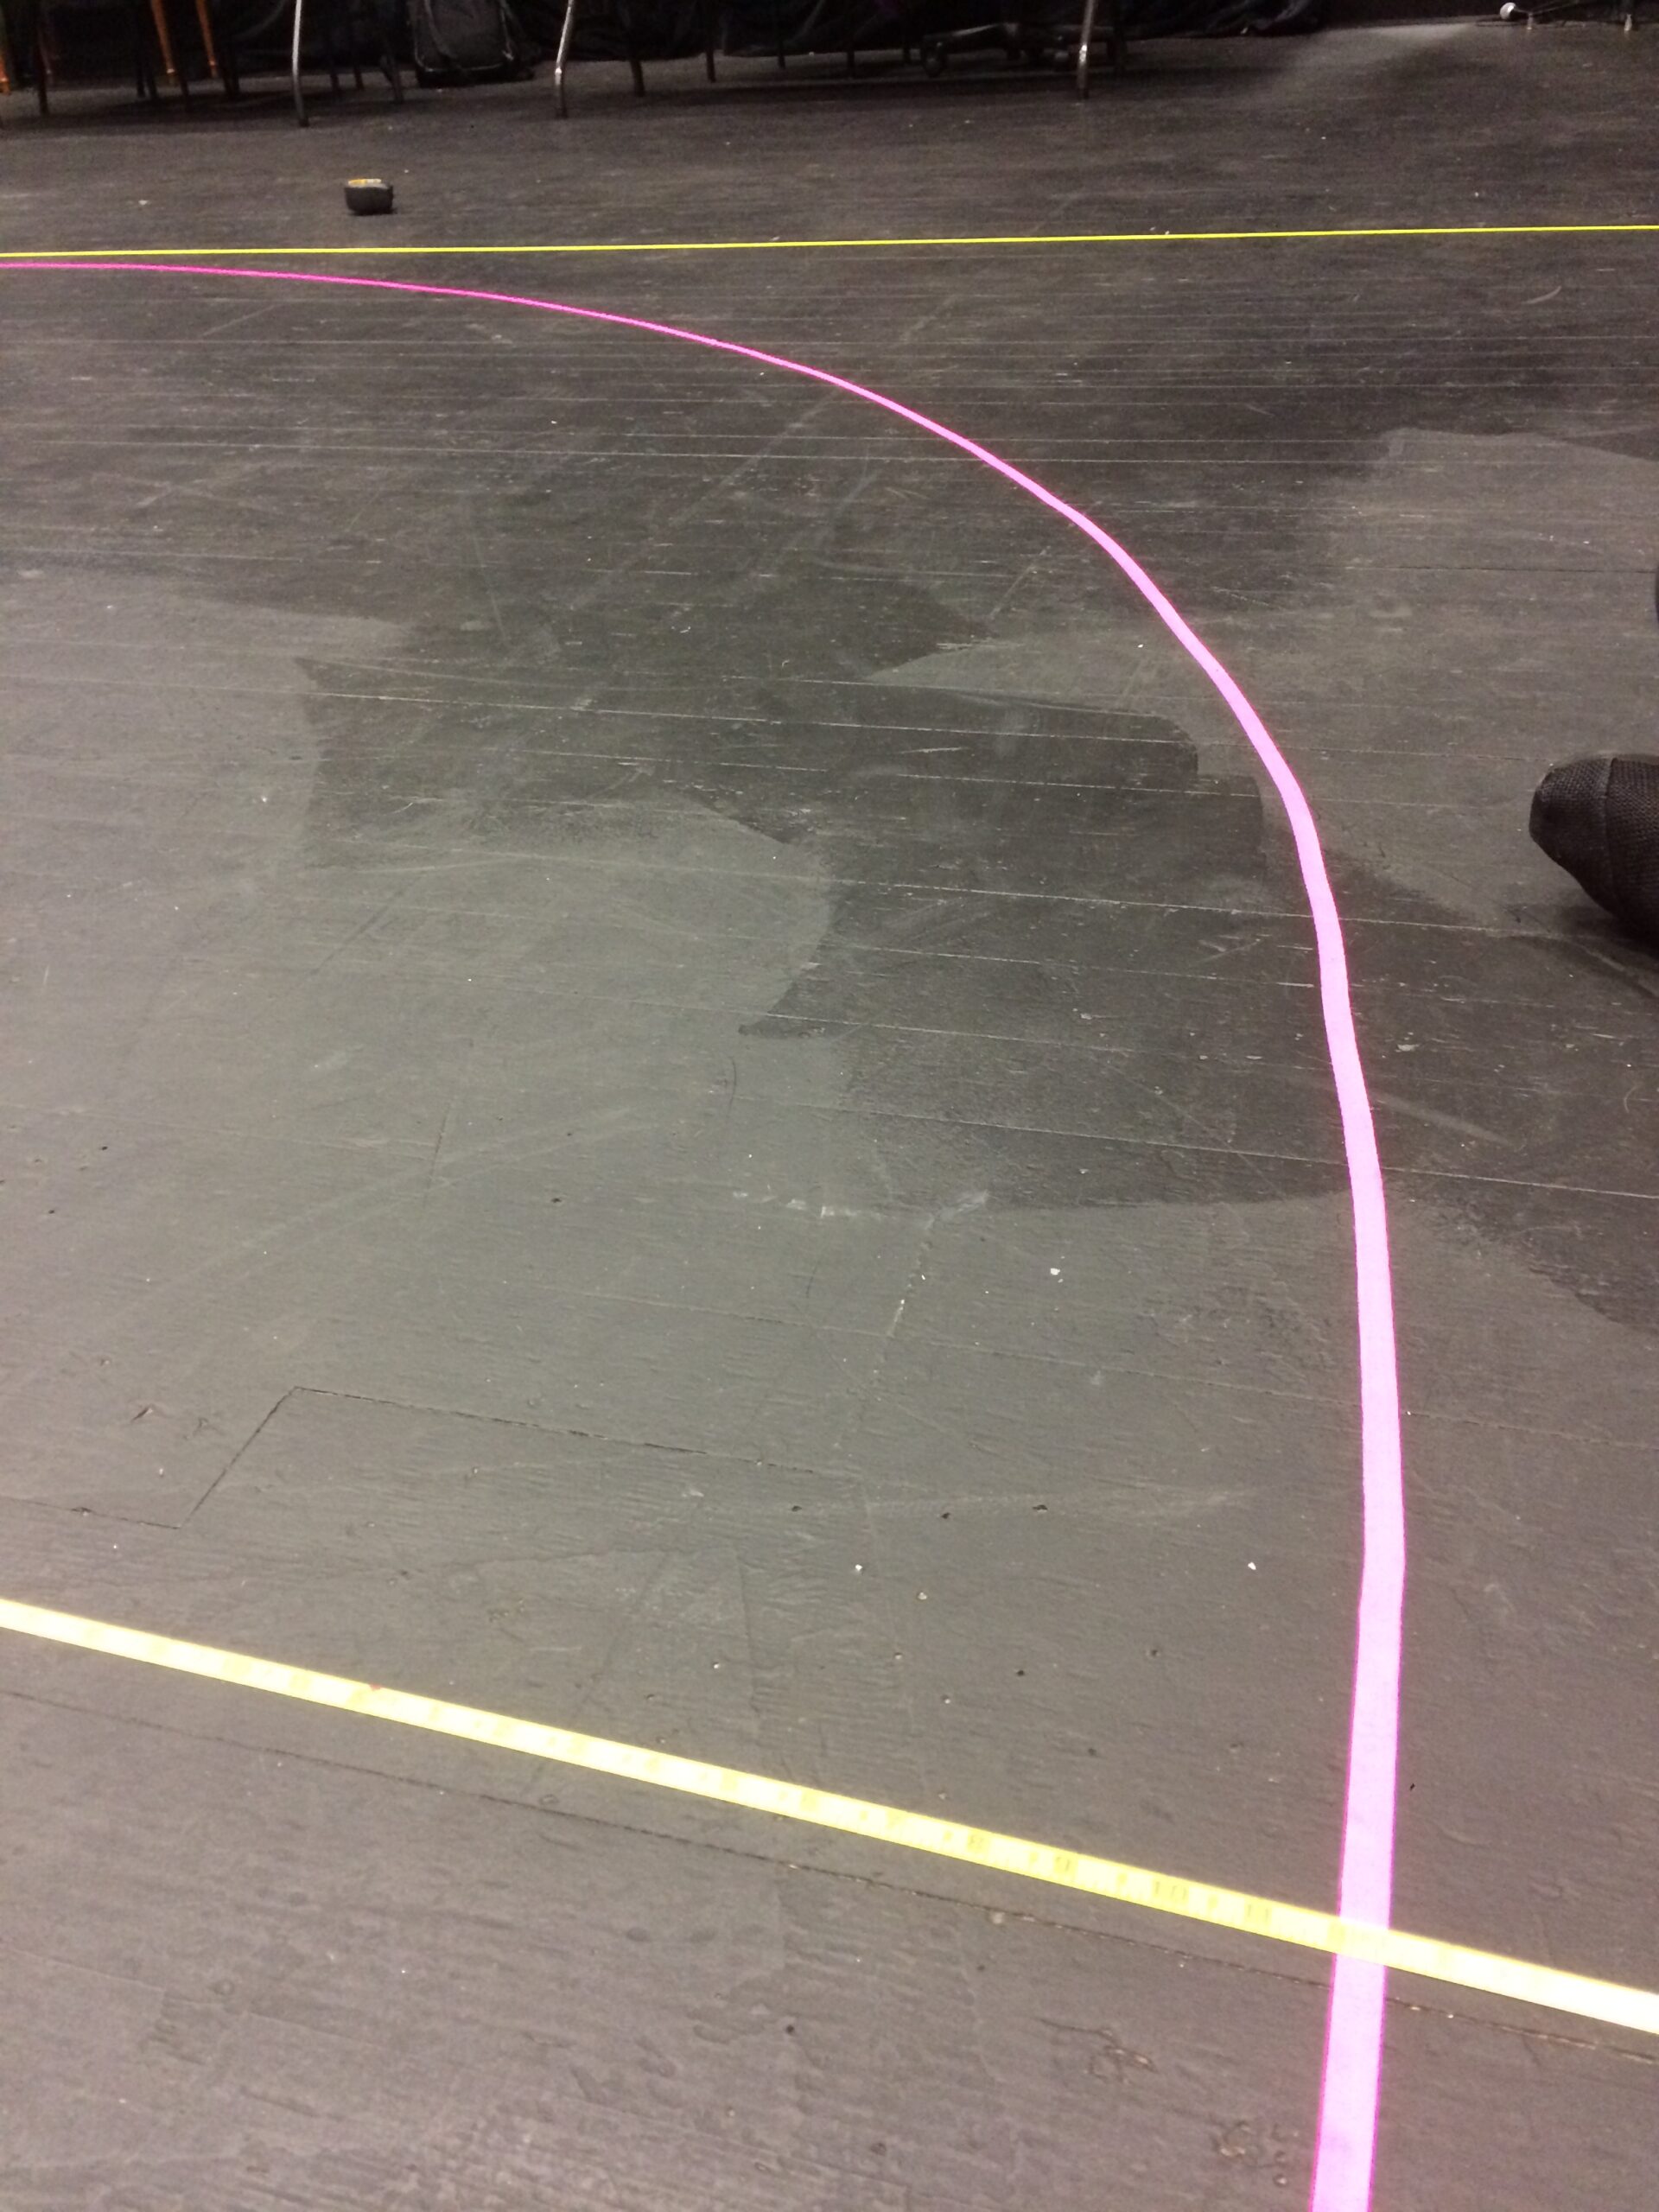
To tape a circle, you need two people, a roll of spike tape, and a metal tape measure (the almost square kind that locks and has a flat bottom, enabling it to stand up by itself.) You also need the coordinates of the center point of the circle, and the length of the radius.
Locate the center point of the circle and place a good size dot on the floor. One person sits at the center of the circle holding the “zero” end of the tape measure on the center point. That person’s job is to hold it there, and allow the tape measure to pivot without kinking, bending, or moving the end off of the center point.
So, let’s say it’s a six-foot diameter circle, with a three foot radius. The tape measure should be opened to just a few inches past three feet, and set flat on the floor. The “taper” kneels on the floor, puts down the end of the spike tape just under the tape measure, centered under the three-foot mark and pulls out about another foot of spike tape. Then all the “taper” has to do is push the tape measure forward with a finger (or thumb) on the three foot mark and together the tape measure and pressure of the finger push the spike tape to the floor. Continue pushing the tape measure on top of the spike tape and extending the spike tape, always centered exactly under the three-foot mark. If the person at the middle is allowing the tape measure to swivel with each push, yet keeping the zero end exactly on the center dot, and the “taper” keeps the spike tape aligned in the center of the three foot mark, you’ll have a perfect circle (and very sore knees) in no time at all. It takes some practice (and stamina) and smaller circles are somehow more difficult than larger ones, but I’ve used this technique for years with great success.
(Oh, the person in the center of the circle is also responsible for moral support, and must call out “What an amazing circle!” as often as they can!)
This technique is a one step process. No measuring multiple points, no attaching chalk to a string and then trying to get the string to be the correct length to draw the circle you will then still have to tape over.
During the New Harmony Theatre 2017 summer season, we discovered that it seems to work best to go clockwise around a circle. You can either pull or push as works easier for you, and it may depend upon your dominate hand (lefties might like counter-clockwise, perhaps). Definitely start upstage and away from where you’ll see it most, as your first quarter likely won’t be as strong as the end!
Just before the pandemic shutdown, I was able to teach Ruth’s method to the stage management students at Ithaca College. To understand how much better this system is, I first had them tape it out the “old” way, as some of them had done before, which involves either plotting a bunch of points directly off the groundplan OR, slightly better, to still use the radius method, but plot points or use chalk as Ruth mentioned. In the video below, that’s what you see as the inner circle.
Rico Froehlich was the first to try out the method, which made him cry out, “This is so cool!” (He’s assisted here by Brenna Comeau.)
Next, Elaina Kaehler tested the version of pulling the tape first, then pushing, to see which worked better for her.
Try it out yourself and see which direction you like better, and whether it depends on the number of people in your team. I’m also wondering if you can attempt to do this by yourself if you use a straight Stanley tape measure that has a hole in the end. You may be able to anchor the center of the circle by running some spike tape through that hole to the ground. Now that I think about it, I might also be able to do this with the anchors I use for my two-tape triangulation method. Perhaps I’ll try that sometime.
You can find Ruth on Twitter (@ruthny), if you want to give her a thank you shoutout for sharing this method. I’m there too (@cue2_go).

*EDIT/UPDATE: She also posted it for members on the Stage Managers’ Association website in July of 2018.
Now that I’m finally waching the videos, the students are being far too cautious. Big pushes cover larger distances and are much easier! But, once you’ve done it a few times, it does get much easier and you get more confident and daring! Thanks, Erin!